
Braiding as a preferred hairstyle has come to stay. From its early origins dating as far back as 3500 BC when it was mainly used as a form of identification among various African tribes. It eventually evolved to the rest of the world, and was at some point used as a communication tool for slaves in the US—who used braids patterns amongst themselves as routes of escape. Nowadays, braids are a fashion and style phenomenon, and worn across the globe.
Even though many people can braid their own hair, however, to achieve professional-looking braids, someone else would have to render that service. But oftentimes you find some very good braiders who can braid their own hair to look professionally done.
If you’re one of those who would like to braid their own hair like a pro but have no clue how to get started, here are some guidelines to get you started on braiding like a professional hairstylist.
Wash your hair!
This is your first step towards becoming a professional braider of your own hair, and perhaps for someone else in the future. Know that your hair and scalp needs to be spotlessly clean and in the best condition before it can be braided, if you want to achieve the best result. Wash your hair with your shampoo of choice and dry completely. Next, oil it up and ensure it is well moisturized and not dry. This is to prevent dandruff flakes or buildup from hair products from forming on the scalp. A well moisturised hair and oiled scalp will make the braided hair appear neat and last longer.
It’s worth mentioning that there are two different kinds of braiding, namely flat braids, and single braids, and two different types of braiding technique, namely box braids and knotless. The flat type of braiding involves braiding onto the roots of the hair, while the second one is braided from the ‘root out’ of the hair in single strands. The first type is also known as weaving or cornrow in some parts of the world. For the braiding techniques, box braids are usually done for single braiding as they require a great deal of pulling the hair out from the root, while knotless can be done for both weaving onto the root and flat single braids. The latter does not require an excessive amount of hair pulling, hence is the preferred style for people with soft scalp. However, due to their different techniques, box braids tend to last longer than knotless braids.
Now let’s get started.
Depending on the length and condition of your hair, you might decide to add extra hair or attachment to your hair to give it extra length and form. It also enhances its looks and determines its durability. For most hair types, braiding your natural hair without attachment will not last longer than when braided with hair attachment.
Step 1
As a beginner you can learn braiding quicker and move up the ladder of expertise by dividing your hair into portions for easier parting. Now, part your hair into four portions (two in front and two behind) and leave one portion unbraided while you braid out the three other portions.
Step 2
Next, starting with the first unbraided portion using a long pin comb, separate small portions of your hair according to the size of braid you want, and of course, the hair attachment you’ll be using.
Step 3
The next step is all about oiling the root of the hair (you can also use a good hair control gel) to lay your hair down and smooth. When the required texture is achieved, you’ll use the attachment hair as the third part of your hair while you divide your hair into two parts. You’ll simply braid the hair by combining the three parts of hair in and out and above and beneath each other in flat plaits to ensure the hair strands remain even. You can oil and moisturise as you go along to ensure a smooth outcome as you braid. Once one braided hair is done, you’ll inspect in the mirror until you’re satisfied with the result. Do the same for that section until all is braided.
Step 4
Take the next big braided portion and loosen it and repeat the same process as step 3 until the whole hair is completely braided. Once the front portion of the head is done you can move on to the back. If you were going for medium size braids, this would take a couple of hours, so ensure you take breaks in between to give your hands some rest.
If you were going for bigger sized single knotless or box braids, you’d follow the same format as above but will be done in less time. Generally, the length of the braids will determine how long the whole braiding process will take. Short braids will take less time to complete than long braids.
The other type of braids—plaited or weaved flat onto the scalp into different styles takes considerably less time than the braid out style. Although, depending on the sizes or portions of parting you were going for, could take considerably longer time to complete.
Accessorise it!
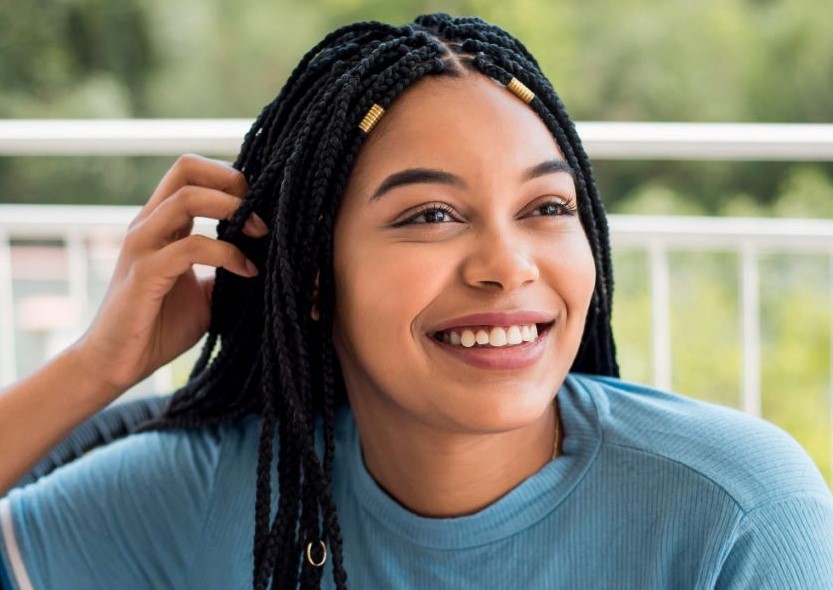
Once you’re satisfied with the outcome of your braids, you can add hair accessories like beads and hairclips to beautify them and make them look more attractive.
Gladys Christian | Staff Writer