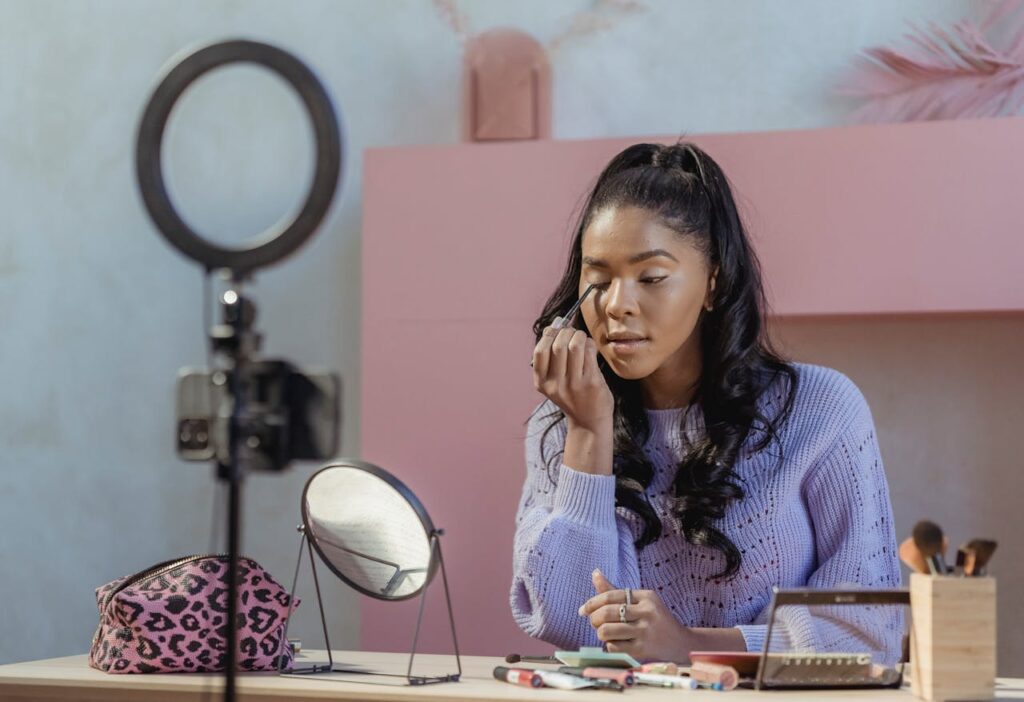


When checking out cool nail trends on Pinterest and TikTok, take a pause before you consider throwing away that hard earned moolah for a pricey manicure. YouTube’s DIY nail gurus are more than happy to share their tips and secrets to their nail looks. If you’re looking for some nail inspo of the day, Elixuer has the exclusive DIY guide to beach-inspired designs you won’t resist trying!
3D Seashell
Aussie nail queen Kirsty Meakin guides us through her own DIY of this stunning nail look. To create the lines reminiscent of most seashells, use a hard nail gel and gently craft thick lines with it. A liner brush will be your best tool to use here.
Start in the middle to know how many lines are needed for the sides, then cure your nail after drawing that first line. The rest of the lines should be slightly angled to give the impression they are springing from the centre.
Again, make sure you cure your nail after each line before moving onto another. Once done, apply the topcoat sparingly, taking caution to avoid drowning out the definition of the lines. Then, cure your nails again.
If you want that pearlescent look of a shell, apply a chrome gel polish to the surface. Before curing, add a topcoat to the nails.
Water-Flecked
YouTuber Ariane, or abetweene, starts off this beautiful look by applying two different blues — one light and one dark — to the nails. She then cures them for a few seconds before applying a clear gel to the nails. Then, she cures them once more.
The next step takes place away from the canvas of your nails. You will have to create a clear-looking white by mixing a white gel polish into the topcoat polish.
Using a liner brush, add this new mixture to your nails by simply letting droplets fall from the brush. You will be surprised to see those drops spread out, enlarge, and turn into water spots. The last step is to cure your nails.
Mermaid Scales
Jo of Miss Jo’s Nail Co. puts us at ease by demonstrating the simplicity behind this mermaid tail look. Start by creating the first row of scales. For the next row, place the bottom scale in the middle of the two top scales.
As you create each new row, make sure they are cured before moving onto the next. Once all your rows have been cured, apply a topcoat before doing a final cure.
Then, throw on one last topcoat.
Bling Sea
When blinging your nails, you need to know how to encapsulate them. This process is often used when people want to apply glitter, mylar flakes, or gold foil to their nails and keep them there for a long time.
The Nail Hub breaks down this complex process while guiding us through their tutorial.
To start, add a small amount of clear gel to a small bowl or dish. Then, throw in some glitter into it and mix.
You can then start applying the glitter to your nail with a brush, spreading it around the nail in your preferred areas.
If you want to add more bling before encapsulating your nails, artist Natalie Mugridge applies nail mylar and angel paper to the nail, spreading it in the areas where they will stand out the most.
Finally, encapsulate your nails by curing them. Then, use a topcoat and apply it over the nails.
To finish off this look, NAILS Magazine recommends applying sea charms to your nails using a brush-on resin. This will keep the charms on for a longer period. Make sure to apply it under the charms and around the edges before using a gel cure spray to keep it in place. For extra security, repeat this step.
Beach Waves
Ellie Fleming of Pure Nails starts her tutorial by applying a turquoise colour to nails. She then cures for 30 seconds. In the meantime, a darker and lighter blue shade should be mixed for the wave colour. Let a droplet of light blue fall onto the darker base. You’ll need to repeat this process with a white polish. If you have a nail dotting tool, use it to spread the colours so they appear like marble swirls. After your nails are cured, apply a base coat, then use a gel brush and apply the marble colour to your nail.
After creating a wave-like pattern, cure your nails for 30 seconds. Then, mix the original turquoise with your base to make it look transparent, and following that mix it the way you did with the ocean wave colour.
Add more white to the nail and create swirls with it, forming lines that create the illusion of wave crests. Let the nails cure for another 30 seconds, then apply the turquoise mix over the nail to give it more layers and definition. Once again, cure the nails, then add the base coat along the white part of the nail so it gives a wave effect.
Palm Tree
This simple technique by HYGO Pretty starts with black acrylic paint applied with a thin brush. You will need to start by drawing the tree base on your nails. Once you’ve finished, move onto the branches, making sure they follow a similar orientation as the base. You can add more lines extending from the branches to fill in the tree. Afterwards, simply apply a topcoat to your nails. Then, cure!
Sandy Beach
For the Sandy Beach look by Karafuru Nail, a gold gel nail polish is required. If you end up with a sparkly one, that’s a bonus! When applying the polish to your nails, do it at an angle so that the beach appears to be slanted. Then, cure your nails before applying a second coat. For the half of the nail that has not been painted, apply a light blue polish to this area, then cure it. The dark blue polish should be applied to the upper tip of the nail, allowing for the space to have a shoreline in the middle of the nail. To create the shoreline, mix a medium blue polish with a light layer of blue. Then, use white to create wave lines along the middle. The last few steps are to cure, topcoat, and cure your nails one more time.
Tashon Daley | Contributing Writer