If your nails are looking and feeling like they’re in need of some attention, but you don’t want to spend too much on a trip to the salon, why not indulge in some at-home nail care instead? Here is a simple step-by-step guide on how to do exactly that.
Prep Your Nails
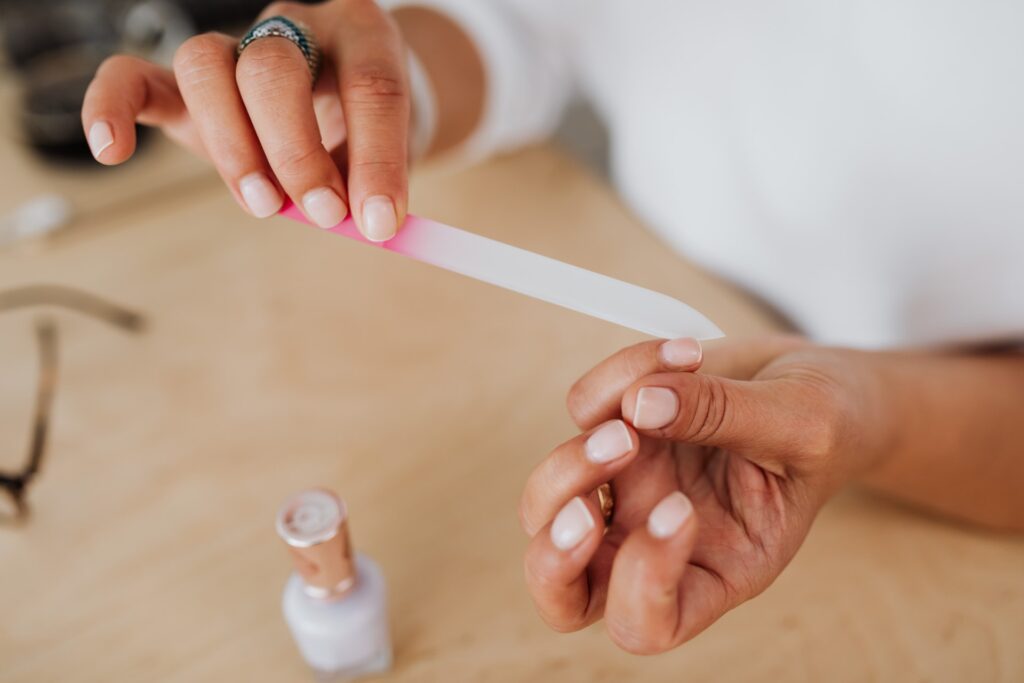
Begin by prepping your fingernails and toenails for a clean base, free of any dirt, oils, or residual nail polish. Wash your hands and feet with soap and warm water, then apply acetone-free nail polish remover to any lingering varnish. Next, trim and file your nails into shape, being careful not to overdo it. Finally, before you start painting, be sure to tidy up your cuticles with cuticle pushers and clippers.
Pick Your Colours
Arguably, the most important step of your DIY nail day is the colour choice. If you’re overwhelmed by the possibilities, Pinterest is a great place for nail design inspiration. Consider the season too: if it’s summer, you might want to go for something bright and bold; winter, on the other hand, often calls for darker, more muted tones. Alternatively, neutrals and pastels are always a good choice if you don’t want to go too big. They go with everything and are suitable for all occasions. Moreover, when it comes to colour, don’t feel obligated to match your toes to your fingers. If anything, your toes are your chance to do something a little extra: why not add a fun design or go multi-coloured?
Start with Your Toes
This is a full nail care day, so there’s no neglecting those toes! In fact, they should take precedence; after all, painting your toes when your fingernails are still drying is no easy feat. Before you get to painting, pick up a couple of foot masks from your local drug store. Simple and straightforward to use at home, follow the instructions on the back of the packet to leave your feet feeling extra soft and smelling great. Thankfully, starting toes first is a great way to offset potential smudging. Finally, if you have an unsteady hand or your technique is a little shaky, get toe dividers. This inexpensive and handy tool separates your toes and stops the polish from rubbing off on your skin while it dries.
After Care
Your nails may be done, but the day is far from over. Once they’ve dried, it’s important to top up their moisture. Add a drop of cuticle oil onto the base of each nail and massage it in. This will help to minimise any damage and to ensure that your cuticles stay revitalised and strong. Don’t forget to moisturise your hands and feet too for that salon finish.
Elixuer Team | Contributing Writer